Tag: recording

  • Crackling Confidence: Basic Audio Gear to Easily Learn On

    Crackling Confidence: Basic Audio Gear to Easily Learn On

    When it comes to basic audio gear, nothing says “pro” like knowing your gear, even if it’s borrowed.


    New to Audio? Here’s the Basic Audio Gear That Won’t Scare You (or Your Wallet).

    Let’s face it—stepping into audio for the first time can feel like standing in front of a spaceship’s control panel. So many knobs. So many cables. And a terrifying button labeled “phantom power.”

    But here’s the truth: you don’t need to spend thousands on basic audio gear to start learning the ropes. You just need the right beginner-friendly gear that teaches you the fundamentals without frying your brain or your bank account.

    We’re here to show you exactly what that gear is—and why AMP by New Life Electronics can grow with you from your first podcast to your first FOH gig.


    Start With Tools You Already Own

    Before you max out your credit card, raid your tech drawer. Chances are, you already have the basics:

    • A laptop or tablet
    • A pair of decent headphones (closed-back preferred)
    • A USB microphone or headset mic
    • Free software like Cakewalk, Tracktion, or even GarageBand

    These tools are more than enough to begin learning signal flow, basic EQ, and the art of not peaking every track into red.

    Quick Tip:
    Grab a free plugin suite from TDR (Tokyo Dawn Records). They’re professional-grade and completely free.

    There are hardware and software tools.  Hardware is the most tactile and most consistent, it usually can’t change without getting a new one.  Software, however, is much more malleable, and could even change version to version.  The point is that you get used to a piece of equipment or software, and you learn how to use it in ways that are not so basic.  Just like a carpenter that loves their favorite hammer, you won’t have to think about how to make the tool work, your will level up to focusing on the work that you are doing and beyond.  Use what you have available and get to know it well.

    As for software tools, look for other free VSTs from well known brands, many are really good for learning what that type of tool does.  Eventually, you can grab the premium VSTs that meet your needs exactly, and not get a huge library of ‘never-used-kits’.  Although, most software audio people have gone through that phase at some point in their learning adventure.  So don’t feel bad if you gather hundreds of gigs of VSTs and samples.


    Add-On Basic Audio Gear That Builds Your Skills

    When you’re ready to upgrade, look for gear that teaches you as you go. Here’s our recommended low-cost starter kit:

    • 2-in/2-out USB Interface (Focusrite Scarlett Solo, PreSonus AudioBox)
    • Dynamic microphone (Shure SM58 or Samson Q2U)
    • Boom mic stand and pop filter
    • Studio monitors or high-impedance headphones
    • Small analog mixer or control surface (just to feel those faders!)

    AMP supports a wide range of USB and network-based gear, so every piece you add becomes part of your growing rig.

    Pro Insight:
    Don’t chase the “perfect” gear. Focus on clean signal, smart routing, and building confidence. AMP helps you scale without starting over.


    basic audio gear band

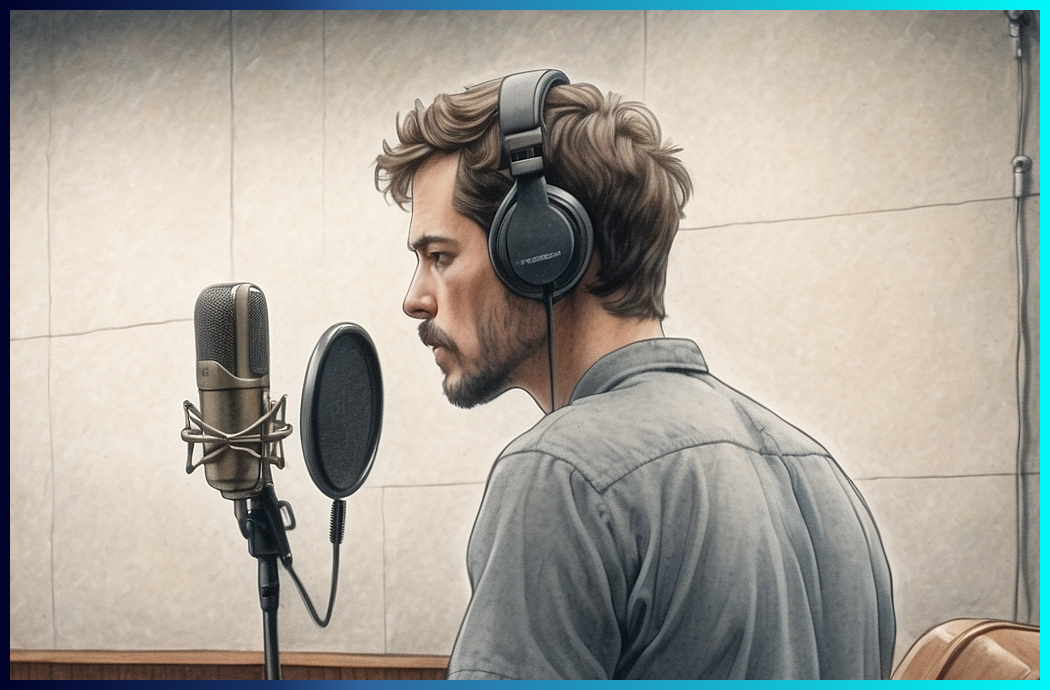
    Learn to Mix Like a Pro (Even If It’s Just Your Dog’s Bark)

    Once you’ve got a mic and a DAW, you’re in business. The best way to learn? Start recording:

    • Mic an instrument (or a friend who thinks they can sing)
    • Record a voiceover or a podcast
    • Create a fake commercial with music and effects

    Experiment with EQ, compression, panning, and reverb. Then repeat.

    With AMP, you can simulate real-world routing and control on your existing hardware—perfect for prepping for live gigs or broadcast work.

    Bonus:
    AMP runs on touchscreen tablets, letting you build muscle memory on the go. Practice mixing at your kitchen table like a true multitasker.


    Turn Basic Audio Gear Into Experience

    Owning gear is great. Knowing how to use it under pressure is better.

    Use your starter kit in real-world situations:

    • Offer to record a small event or livestream
    • Join a church tech team
    • Volunteer to help a DJ or school production

    Every mic check, every monitor mix builds real confidence. And when you’re ready to scale up, AMP is already there, ready to connect with Dante, AES67, and pro-grade interfaces.

    Want more foundational knowledge? ProSoundTraining.com is packed with training that’ll turn your curiosity into career power.


    Mic’ing Instruments: Your First Real-World Superpower

    If there’s one skill that separates button-pushers from true audio pros, it’s microphone placement.

    Whether you’re recording an acoustic guitar or mic’ing a snare drum, learning to capture the sound source with clarity is crucial for both live and studio environments. This isn’t just about plugging in a mic—it’s about understanding the physics of sound and how microphone types, placement angles, and room acoustics shape what ends up in your mix.

    Start with these basics:

    • Dynamic mics (like the SM57) are great for close-miking drums and amps.
    • Condenser mics are perfect for vocals, strings, and acoustic instruments in quieter, controlled spaces.
    • Learn the 3:1 rule to minimize phase issues when using multiple mics.

    Quick Technique:
    Place a dynamic mic 1–2 inches from a snare drum, angled slightly off-axis to reduce harsh overtones. Record and adjust positioning to find the sweet spot.

    The more you practice mic’ing real instruments, the more instinctive it becomes. You’ll learn how tone, bleed, and proximity affect your mix—and you’ll start hearing the room as part of the instrument.

    AMP makes this easy to explore with its ability to interface directly with your USB or Dante-connected gear, providing real-time feedback on levels and phase alignment.


    Build Confidence. Build a Rig. Expand Your Future.

    With the right starter gear and the power of AMP behind it, you’re not just learning—you’re leveling up.

    Need help designing your first serious rig? Want to rent pro gear for a hands-on trial run?

    We’ve got your back.


    **Looking for expert sound engineering solutions? ** Book a consultation today!

    **Need top-tier rental equipment for your next event? ** Let’s talk gear!

  • Crackling with Potential: Your Learning Audio Start Made Simple

    Crackling with Potential: Your Learning Audio Start Made Simple

    Because at some point in the path of learning audio, every pro once asked, “What does this button do?”


    Think You Need Fancy Gear to Start Learning Audio? Think Again.

    Breaking into audio can feel like trying to mic a drum kit in the dark with oven mitts. But here’s the good news—you don’t need a degree, a Neve console, or a truckload of XLR cables to begin.

    What you do need is curiosity, initiative, and a few clever ways to get your hands dirty without frying your gear (or your confidence).

    Let’s talk about how to get started in audio the smart, fun, and occasionally ridiculous way.


    Step 1: Lurk Where the Action Happens (and Be Helpful)

    The best learning doesn’t happen in a vacuum—or in a YouTube comment section. If you want real audio chops, start by hanging out where the gear lives:

    • Church sound teams are often thrilled to have extra hands, especially mid-service when everything hits the fan.
    • Know a DJ? Offer to help load in, run backup, or babysit the wireless mics at their next wedding gig.
    • Got a buddy who mixes for a local band, festival, or school event? Ask if you can tag along. Hold a cable. Push a fader. Ask smart (not annoying) questions.

    These environments are low-stakes, real-world classrooms where you can observe the chaos, hear what goes wrong, and start connecting theory with practice.

    Pro Insight:
    Always ask before touching anything. And when in doubt, wrap a cable. You’ll be everyone’s favorite rookie.


    Step 2: Start With Gear You Already Own

    You’d be surprised what you can do with a smartphone, a free DAW, or that dusty USB mic you forgot you had. The key? Start experimenting. Record a friend’s band. Make a podcast. Mic your neighbor’s chainsaw (with permission).

    Getting comfortable with signal flow, mic placement, and basic mixing happens through repetition—not buying the “right” gear.

    Quick Hack:
    Download free DAWs like Cakewalk or Tracktion. Pair with free plugins from TDR or Valhalla. Boom, you’re mixing.


    Step 3: Learning Audio is about Following the Noise (aka Forums, YouTube & More)

    Some of the best audio minds on Earth are in Facebook groups and Reddit threads arguing about phase alignment. Join the party—but listen more than you speak. Try:

    • r/livesound and r/audioengineering (Reddit)
    • ProSoundWeb forums
    • YouTube channels like Curtiss Judd, The Recording Revolution, or Spectre Sound Studios

    And don’t forget ProSoundTraining.com — where industry legends share wisdom that can save you years of guesswork.

    Bonus Resource:
    Follow your favorite FOH engineers on Instagram. Many post behind-the-scenes looks at rigs and live setups.


    Step 4: Join the Signal Chain to Learn Audio

    The longer you hang around audio people, the more gigs you’ll hear about. Don’t be shy. Offer to submix. Run cables. Drive the truck. Do it all with a smile and you’ll get invited back.

    Also, build a basic kit: a decent headset, a flashlight, and a bag of labeled Velcro ties. It says, “I’m not here to mess around.”

    Gear Starter Pack:

    • Headlamp (you’ll thank us)
    • Gaffer tape (not duct tape… ever)
    • A bag of labeled XLRs

    Ready to Crackle Less and Mix More?

    If you’re dreaming of flawless live mixes, polished studio tracks, or just want to stop blowing out speakers during soundcheck—let’s talk.

    We’ve trained engineers, built custom setups, and equipped churches, schools, and venues with systems that work right the first time.


    Looking for expert sound engineering solutions? Book a consultation today!

    Need top-tier rental equipment for your next event? Let’s talk gear!

  • OBS and VMix: Which is the Best One?

    OBS and VMix: Which is the Best One?

    Two Giants, One Goal: Flawless Live Production

    Live streaming is booming, and whether you’re producing a concert, podcast, hybrid event, or church service, choosing the right mixing software can make or break your show. If you’ve ever wondered whether to roll with OBS Studio or VMix, you’re not alone. Both OBS and Vmix are powerful—but knowing which one fits your workflow is the real game-changer.

    Let’s cut through the confusion and unpack the strengths, quirks, and ideal use cases for each platform.


    OBS Studio: The Open-Source Workhorse

    OBS (Open Broadcaster Software) is free, flexible, and backed by a passionate global community. It’s widely loved by content creators and indie streamers, but it’s also surprisingly capable for professional use.

    Why you’ll love OBS:

    • 100% Free and open-source
    • Huge plugin ecosystem
    • Lightweight and easy to run on mid-range PCs
    • Great for streaming to Twitch, YouTube, and Facebook

    However, OBS lacks native support for advanced features like multi-channel ISO recording, instant replays, or NDI camera switching—unless you’re willing to cobble together plugins.

    🎯 Best for: Solo streamers, gaming channels, and budget-conscious pros who like to tinker.


    VMix: Feature-Rich and Broadcast-Ready

    VMix is a professional live production suite that’s built to handle multi-cam broadcasts, remote guest feeds, dynamic overlays, replays, and more—right out of the box.

    Why VMix shines:

    • Native support for NDI, SRT, and virtual sets
    • Up to 8-camera ISO recording (in higher tiers)
    • Advanced audio routing, mix-minus, and video delay options
    • Excellent customer support and regular updates

    VMix runs only on Windows, and pricing starts with a one-time license model (starting around $60, going up to $1200+ depending on the edition).

    🎯 Best for: Churches, pro AV teams, event producers, and hybrid studios that need reliability and scale.


    Quick Comparison of OBS and Vmix

    FeatureOBS StudioVMix
    CostFreePaid tiers
    OS SupportWindows, Mac, LinuxWindows only
    Multi-cam SwitchingBasicAdvanced
    ISO RecordingPlugin-basedNative support
    Remote GuestsBasic via pluginsNative via vMix Call
    NDI SupportPluginBuilt-in
    Learning CurveModerateSteep but guided

    Quick Tips for Smoother Streaming on both OBS and Vmix

    Mix with Confidence: Use a software audio mixer like AMP by NLE to control your audio across OBS or VMix. AMP integrates with Dante, AES67, and ASIO—making your sound as pro as your video.
    🔁 Test Before You Go Live: Build a rehearsal session with your exact setup, and stream privately to catch any quirks.
    🔧 Upgrade Thoughtfully: OBS thrives with a fast CPU; VMix benefits more from a beefy GPU. Match your gear to your software.


    Still Unsure? Let’s Talk Gear and Workflow

    Picking between OBS and VMix isn’t just about features—it’s about the way you produce. And if audio quality is a top priority (as it should be), make sure your system is built around a robust, scalable mixer like AMP by New Life Electronics.

    From touchscreen flexibility to networked audio control across Dante and AES67, AMP gives you the kind of precision and integration these streaming platforms can’t provide alone.

    👉 Need help deciding what fits best? Book a consultation with our team.

    💡 Want to level up your streaming audio game? Dive into SynAudCon’s training for expert insights into audio, RF, and networked sound.

    Let’s get your stream sounding as good as it looks.

  • Mic Myths Busted: The Truth About Studio Sound Quality

    Mic Myths Busted: The Truth About Studio Sound Quality

    Separating Fact from Fiction in Studio Microphones Mic Myths

    Ever heard someone say, “Expensive mics always sound better” or “Condenser mics are the only choice for vocals”? These common misconceptions can lead to poor buying decisions and missed opportunities for achieving the best sound. The wrong choice might even cost you more in time and money. Let’s cut through the noise and debunk the biggest mic myths about studio microphones.


    Myth #1: Mic Myths Would Have You Think Price Equals Quality

    The Truth: While premium microphones offer superior craftsmanship and consistency, price alone doesn’t guarantee the best sound for your specific needs. Some budget-friendly options deliver incredible performance, especially when paired with the right preamp and environment.

    Pro Insight: Many professional studios use the iconic Shure SM57—an affordable dynamic mic—for instruments and even vocals. It’s proof that proper mic technique often matters more than price.


    Myth #2: Condenser Mics Are Always Better for Vocals

    The Truth: Condenser mics capture detail and brightness, making them a great choice for many vocal styles. However, dynamic microphones like the Shure SM7B are often preferred for aggressive vocals, podcasting, and broadcast applications due to their durability and natural warmth.

    Quick Tip: Test both condenser and dynamic mics with your voice type before committing. Your mic choice should complement your unique tone and the mix.


    Myth #3: More Sensitivity Means a Better Recording

    The Truth: High sensitivity isn’t always a good thing. A highly sensitive mic will pick up everything—including unwanted room noise. In untreated rooms, a lower-sensitivity mic can actually provide a cleaner, more controlled recording, even lowering the noise floor.

    Gear Tip: If your recording space isn’t acoustically treated, opt for a cardioid dynamic mic to minimize background noise and reflections.


    Myth #4: You Can Fix Everything in the Mix

    The Truth: While modern plugins and post-processing tools are powerful, they can’t fully correct a poorly recorded track. A bad mic choice, improper positioning, or excessive background noise will always limit your final sound quality.

    Pro Insight: Focus on getting the best raw recording possible. Proper mic placement, gain staging, and selecting the right microphone will save you hours of frustrating mixing later.


    Myth #5: Mic Myths Says USB Mics Aren’t Professional

    The Truth: While USB microphones have limitations, they have improved significantly in recent years. Models like the Audio-Technica AT2020USB+ and Rode NT-USB offer professional-grade sound quality, making them excellent choices for home studios, podcasting, and remote recording.

    Quick Tip: If you’re using a USB mic, consider an external pop filter and acoustic treatment to enhance clarity and warmth.


    Mic Myths busted

    Final Thoughts: Get the Best Sound with the Right Knowledge

    Now that these mic myths are busted, you can make smarter decisions when choosing and using studio microphones. You can tell Mr. Mic Myths you’ll make up your own mind. Whether you’re looking for the best mic for your next project or need expert advice on optimizing your recording setup, we’re here to help.

    Want expert sound engineering solutions? Book a consultation today!

    Looking for top-tier rental equipment? Explore our gear options!

    Ready to level up your audio skills? Check out SynAudCon’s training courses.