How to Troubleshoot Audio Dropouts in Live Productions: A Sound Engineer’s Guide
Introduction
If you’ve worked in live production engineering for any length of time, then you’ve likely encountered nightmare audio dropouts in this scenario: the main output suddenly goes silent in the middle of a show. Then the director, the crew—maybe even the entire audience—turns to glare at you. And it’s not just any glare, but the “Do-you-know-what-you’re-doing?” death stare. So, now what do you do in this high-pressure moment? Hopefully, you’re reading this before disaster strikes not in the crisis moment.
The ability to quickly track down and resolve audio dropouts is one of the reasons you get paid the big bucks. Let’s break down the essential troubleshooting steps to help you fix the problem—fast.
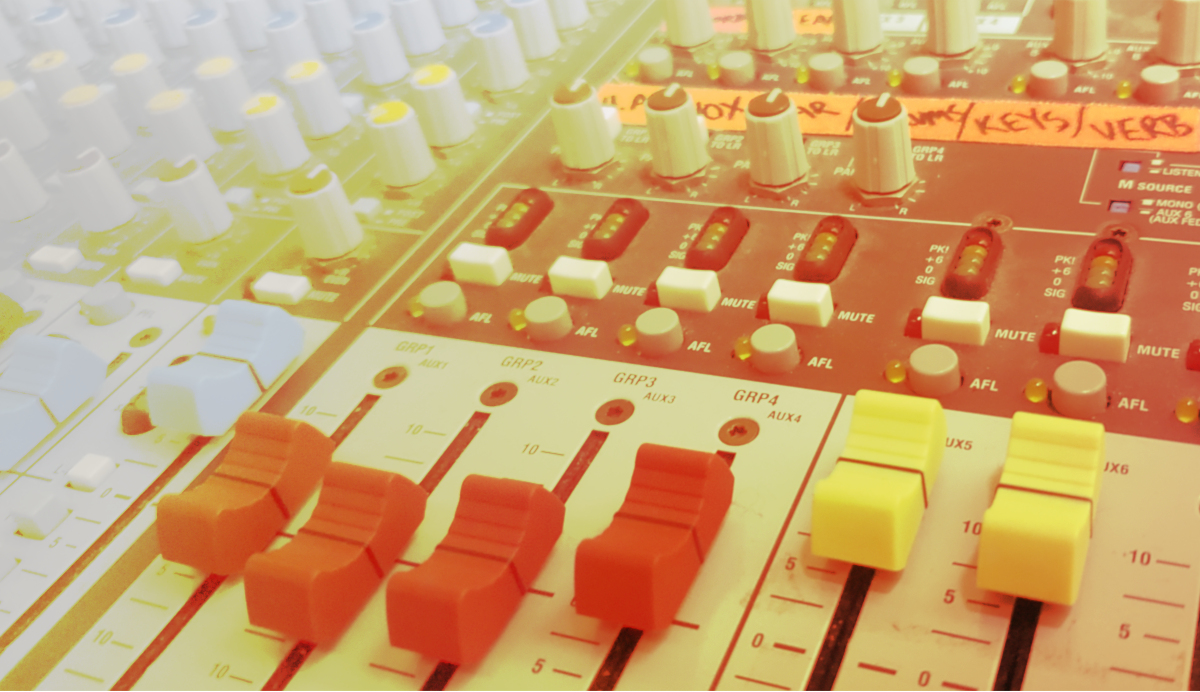
1. Check the Mute and Solo Buttons
This is the easiest and quickest fix, that could save you from a catastrophe from audio dropouts might just be a simple tap. Everyone makes this mistake at some point—brushing a button on the way to adjust another control. If the sound is gone, double-check the mute and solo buttons first. You might just avoid an unnecessary crisis.
2. Follow the Signal Chain to find audio dropouts
If it’s not a mute/solo issue, you’ll need to trace the signal path step by step. Look at the board—are all the signal meters flashing as expected? If a signal suddenly disappears, you need to identify where in the chain the audio dropout occurs.
Here’s a basic signal flow to check:
- Inputs (Are mics/instruments sending a signal?)
- EQs (Any drastic EQ cuts that could mute sound?)
- Aux Sends/Buses (Are the buses routing properly?)
- Master Outputs (Is the output going to the right bus?)
Knowing your mixing console’s system flow speeds up this process dramatically.
3. Check Local Connections for the audio dropouts
If the signal flow looks fine, the next step is to inspect physical connections:
- Are cables securely plugged into the mixer?
- Did a cable come loose on the stage box or snake?
- If using wireless, are receivers showing power and links?
Start with the main outputs and work backward. If connections aren’t local to the control booth, ask a stage tech to check backstage cables.
4. Check Power Sources
It might sound obvious, but did you lose power? If your console has no lights, meters, or activity, power loss could be the culprit. Think through these steps to check if the power is affecting you.
- Did someone trip over a power cord?
- Is the power strip still plugged in?
- Did a fuse or breaker trip?
To avoid power-related surprises, use gaffer tape to secure power cables and keep plugs from disconnecting accidentally.
5. Preventative Measures to Avoid Future Issues
A few habits can drastically reduce the chances of mid-show technical failures:
- Use fresh batteries in wireless systems before every show.
- Run a soundcheck for every channel before the audience arrives.
- Follow a consistent startup/shutdown process to ensure nothing is overlooked.
- Regularly inspect cables and connections for wear and tear.
These simple steps can help prevent last-minute scrambling when things go wrong.
Conclusion
Losing sound in the middle of a live show is stressful, but having a systematic troubleshooting method makes all the difference. By following these steps, you can quickly diagnose and resolve the issue—before the glares turn into full-blown panic.
Stay calm, work methodically, and keep the show running smoothly!
Call us today for further resources and training. We would be glad to help.
For some of the best in audio training online, take a good look at SynAudCon. They can help get you the skills to troubleshoot audio systems faster.