Every touring crew knows it—that sinking feeling when the van is halfway to load-in, the coffee’s gone cold, and someone’s debating eating the last protein bar. You can’t mix magic on an empty stomach! Whether you’re hauling speakers, setting lights, or chasing that perfect FOH EQ, refreshing road snacks are the secret fuel that keeps your team rolling joyfully from gig to gig.
1. Smart Energy Road Snacks, Not Empty Calories
Forget the sugar crash. Grab snacks that energize and hydrate — like mixed nuts, dried fruit, or granola bites. Pro Insight: Bananas and apples travel beautifully, and they won’t melt like candy bars in the summer sun.
2. Road Snacks That Make You a Pro
For long road trips, aim for snacks that don’t require refrigeration and leave no greasy fingerprints on your gear. Examples: Jerky, rice cakes, roasted chickpeas, or pretzel bites.
Quick Tip: Keep snacks in resealable pouches like single serving baggies — one (or three) for each person!
3. The Crew Cooler Strategy
If you’ve got a mini cooler in the van, stock it like a champ:
String cheese or hummus cups for protein
Frozen grapes (they double as mini ice packs)
Small bottled waters with electrolyte packets
4. What’s Next? It’s More Than Just Road Snacks
Snacks are just the start — staying hydrated is the next frontier. In Part 2: Refreshing Travel Drinks That Calm Stress Before Shows, we’ll show you how to prep smart, sip better, and stop relying on truck stop coffee as your only lifeline.
Quick Tips for Better Road Snacks:
Snack Rotation: Mix up choices to avoid flavor fatigue.
Team Picks: Let each crew member choose one snack type for variety.
Stay Clean: Unscented baby wipes are your unsung hero for sticky fingers.
Need top-tier rental equipment for your next event? Let’s talk gear and keep your crew fueled for every mile.
Ever feel like your computer is working harder to frustrate you than help you? Don’t worry—you’re not alone. The good news is that the right PC Utilities can transform everyday chaos into smooth, joyful workflows. Think of them as the backstage crew that makes the headliner (you!) shine.
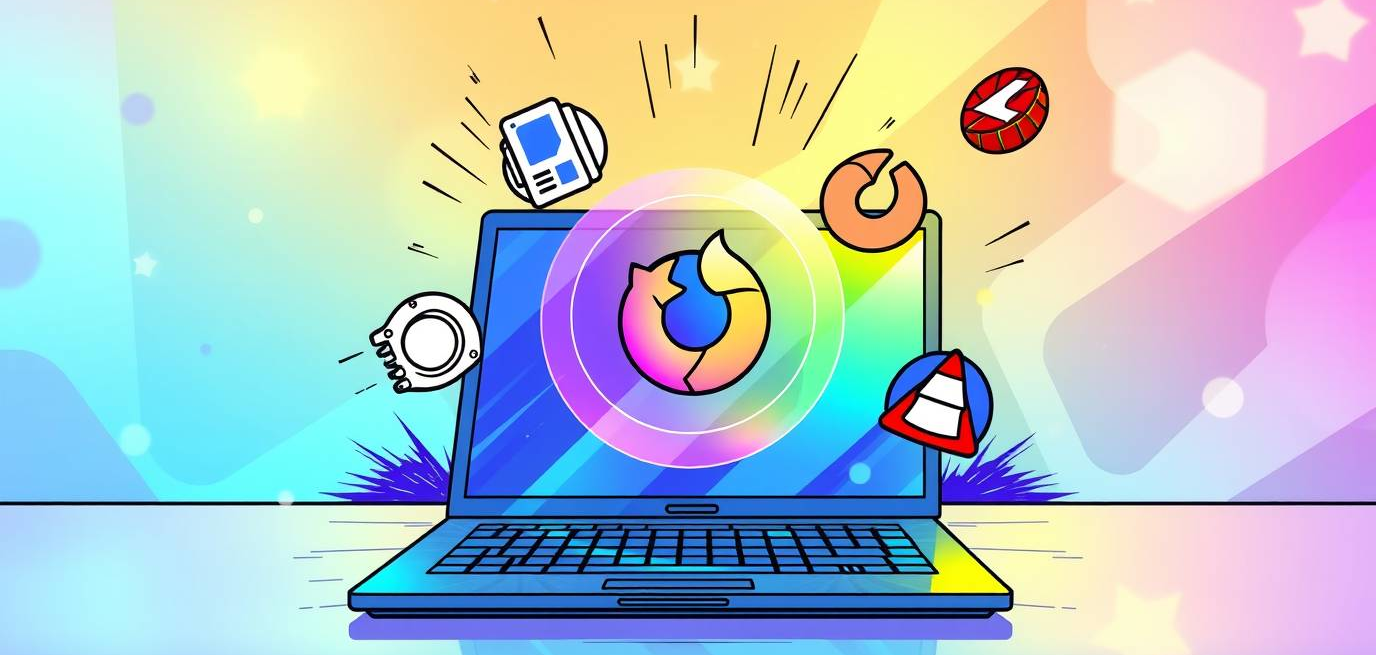
Clonezilla: Your Drive Duplication Hero in PC Utilities
Need to swap out a hard drive or make a carbon copy of your setup? Clonezilla is like having a superpowered stagehand who never misses a cue. This free and open-source tool clones entire drives and partitions with rock-solid reliability.
🎸 Pro Insight: Always test your cloned drive before relying on it in mission-critical situations. Nothing says “encore” like a backup that actually works.
OpenShell: The Menu That Makes Windows Sing
Let’s be honest—sometimes the Windows interface feels like a band with no rhythm. OpenShell brings back a familiar, customizable Start Menu that keeps your workflow smooth and intuitive.
🔥 Quick Tip: Tailor the menu to your most-used apps. It’s like setting up a pedalboard—you want everything right where you need it.
Audacity: The Free Audio Powerhouse of PC Utilities
From podcast editing to sound design, Audacity is the Swiss army knife of audio. This free tool lets you record, cut, splice, and mix with surprising finesse. Whether you’re a musician, engineer, or hobbyist, it earns a permanent spot in your toolkit.
🎤 Gear Recommendation: Pair Audacity with a solid USB mic like the Shure MV7 for clean, professional recordings without breaking the bank.
Firefox: Browsing With Freedom and Speed
When you’re online, you need a browser that’s fast, secure, and adaptable. Firefox isn’t just a browser—it’s a powerhouse of customization, privacy, and speed. Extensions let you tailor it to your exact needs, from productivity to entertainment.
⚡ Pro Tip: Use Firefox containers to keep work, personal, and creative browsing separate. It’s like having multiple soundboards—no crosstalk, just clarity.
VLC: The Player That Handles Everything
Ever tried to play a video and got smacked with a “format not supported” message? VLC laughs at those problems. It plays nearly every audio and video format under the sun, making it the utility you didn’t know you needed—until you really need it.
🎬 Quick Tip: Explore VLC’s lesser-known features like network streaming and simple conversion. It’s way more than just a play button.
PC Utilities Honorable Mentions: HandBrake and PuTTY
Not every utility gets a solo, but some deserve applause.
HandBrake: A go-to for video conversion. Compress those massive files without turning them into pixel soup.
PuTTY: The little terminal that could. Perfect for SSH connections and managing remote servers like a pro.
Taking Control of Your Digital Stage
Your PC shouldn’t feel like a cranky bandmate. With PC Utilities like Clonezilla, OpenShell, Audacity, Firefox, and VLC, you can turn it into a joyful partner that amplifies your productivity and creativity.
Looking for expert gear to complement your digital workflow? At NLE, we know the tools—and the tricks—that keep both live events and studio work seamless.
Ever stare at your faithful old pc and wonder—can this thing survive Windows 11? Good news: it can. And with the right tweaks, that “aging dinosaur” might just roar again.
The tech world loves to push shiny new gear, but in audio (and beyond), squeezing life out of what you already own is a power move. Let’s walk through how to keep your older machines humming happily, even under the weight of Windows 11.
Why Keep an Old PC Alive?
Replacing a computer is pricey—and sometimes unnecessary. For audio engineers and tech pros, older machines can still run DAWs, plugins, and control systems like AMP by New Life Electronics (NLE) with ease, as long as you set them up smartly.
It’s not just about saving cash—it’s about sustainability, workflow stability, and letting reliable tools do their job.
Step 1: Prep Your Old PC Hardware for the Upgrade
Before you click “Install,” give your PC some love:
Upgrade your RAM (8GB minimum, 16GB sweet spot)
Swap in an SSD for faster boot and load times
Clean out dust (seriously—your CPU fan will thank you)
👉 Many older desktops accept modest upgrades that dramatically boost performance. Don’t underestimate the magic of fresh RAM and a speedy SSD.
Step 2: Make Windows 11 Play Nice
Windows 11 has stricter requirements, but there are workarounds. Even if your processor isn’t on Microsoft’s “blessed” list, tools exist to bypass checks safely.
Use the Windows 11 Installation Assistant for supported systems.
For unsupported PCs, lean on lightweight registry tweaks (with backups, of course).
Disable bloatware after install—freeing up resources for your audio apps.
Pro Insight: AMP by NLE runs brilliantly on older, repurposed machines when tuned properly. Its low-latency design doesn’t need bleeding-edge specs—it needs smart system optimization.
Step 3: Optimize for Audio Performance
Once you’re running Windows 11, tweak your system for sound:
Set High Performance Mode in power settings.
Disable unnecessary startup programs.
Update ASIO drivers for lowest latency.
Use a dedicated user profile for audio work.
With these steps, even a machine from 2014 can become a trustworthy rig for mixing, recording, or live control.
Quick Tips (Aside Blocks)
💡 Quick Hack: Install a lightweight antivirus—heavy security suites can strangle audio performance.
🎚️ Gear Pick: Pair an older laptop with a Focusrite Scarlett Solo—clean preamps, light CPU load, rock-solid drivers.
You don’t need a brand-new PC to stay in the audio game. With a few upgrades and smart Windows 11 tweaks, you can stretch your gear’s lifespan while keeping your mixes stable, smooth, and pro-grade.
When it comes to basic audio gear, nothing says “pro” like knowing your gear, even if it’s borrowed.
New to Audio? Here’s the Basic Audio Gear That Won’t Scare You (or Your Wallet).
Let’s face it—stepping into audio for the first time can feel like standing in front of a spaceship’s control panel. So many knobs. So many cables. And a terrifying button labeled “phantom power.”
But here’s the truth: you don’t need to spend thousands on basic audio gear to start learning the ropes. You just need the right beginner-friendly gear that teaches you the fundamentals without frying your brain or your bank account.
We’re here to show you exactly what that gear is—and why AMP by New Life Electronics can grow with you from your first podcast to your first FOH gig.
Start With Tools You Already Own
Before you max out your credit card, raid your tech drawer. Chances are, you already have the basics:
A laptop or tablet
A pair of decent headphones (closed-back preferred)
A USB microphone or headset mic
Free software like Cakewalk, Tracktion, or even GarageBand
These tools are more than enough to begin learning signal flow, basic EQ, and the art of not peaking every track into red.
Quick Tip: Grab a free plugin suite from TDR (Tokyo Dawn Records). They’re professional-grade and completely free.
There are hardware and software tools. Hardware is the most tactile and most consistent, it usually can’t change without getting a new one. Software, however, is much more malleable, and could even change version to version. The point is that you get used to a piece of equipment or software, and you learn how to use it in ways that are not so basic. Just like a carpenter that loves their favorite hammer, you won’t have to think about how to make the tool work, your will level up to focusing on the work that you are doing and beyond. Use what you have available and get to know it well.
As for software tools, look for other free VSTs from well known brands, many are really good for learning what that type of tool does. Eventually, you can grab the premium VSTs that meet your needs exactly, and not get a huge library of ‘never-used-kits’. Although, most software audio people have gone through that phase at some point in their learning adventure. So don’t feel bad if you gather hundreds of gigs of VSTs and samples.
Add-On Basic Audio Gear That Builds Your Skills
When you’re ready to upgrade, look for gear that teaches you as you go. Here’s our recommended low-cost starter kit:
2-in/2-out USB Interface (Focusrite Scarlett Solo, PreSonus AudioBox)
Dynamic microphone (Shure SM58 or Samson Q2U)
Boom mic stand and pop filter
Studio monitors or high-impedance headphones
Small analog mixer or control surface (just to feel those faders!)
AMP supports a wide range of USB and network-based gear, so every piece you add becomes part of your growing rig.
Pro Insight: Don’t chase the “perfect” gear. Focus on clean signal, smart routing, and building confidence. AMP helps you scale without starting over.
Learn to Mix Like a Pro (Even If It’s Just Your Dog’s Bark)
Once you’ve got a mic and a DAW, you’re in business. The best way to learn? Start recording:
Mic an instrument (or a friend who thinks they can sing)
Record a voiceover or a podcast
Create a fake commercial with music and effects
Experiment with EQ, compression, panning, and reverb. Then repeat.
With AMP, you can simulate real-world routing and control on your existing hardware—perfect for prepping for live gigs or broadcast work.
Bonus: AMP runs on touchscreen tablets, letting you build muscle memory on the go. Practice mixing at your kitchen table like a true multitasker.
Turn Basic Audio Gear Into Experience
Owning gear is great. Knowing how to use it under pressure is better.
Use your starter kit in real-world situations:
Offer to record a small event or livestream
Join a church tech team
Volunteer to help a DJ or school production
Every mic check, every monitor mix builds real confidence. And when you’re ready to scale up, AMP is already there, ready to connect with Dante, AES67, and pro-grade interfaces.
Want more foundational knowledge? ProSoundTraining.com is packed with training that’ll turn your curiosity into career power.
Mic’ing Instruments: Your First Real-World Superpower
If there’s one skill that separates button-pushers from true audio pros, it’s microphone placement.
Whether you’re recording an acoustic guitar or mic’ing a snare drum, learning to capture the sound source with clarity is crucial for both live and studio environments. This isn’t just about plugging in a mic—it’s about understanding the physics of sound and how microphone types, placement angles, and room acoustics shape what ends up in your mix.
Start with these basics:
Dynamic mics (like the SM57) are great for close-miking drums and amps.
Condenser mics are perfect for vocals, strings, and acoustic instruments in quieter, controlled spaces.
Learn the 3:1 rule to minimize phase issues when using multiple mics.
Quick Technique: Place a dynamic mic 1–2 inches from a snare drum, angled slightly off-axis to reduce harsh overtones. Record and adjust positioning to find the sweet spot.
The more you practice mic’ing real instruments, the more instinctive it becomes. You’ll learn how tone, bleed, and proximity affect your mix—and you’ll start hearing the room as part of the instrument.
AMP makes this easy to explore with its ability to interface directly with your USB or Dante-connected gear, providing real-time feedback on levels and phase alignment.
Build Confidence. Build a Rig. Expand Your Future.
With the right starter gear and the power of AMP behind it, you’re not just learning—you’re leveling up.
Need help designing your first serious rig? Want to rent pro gear for a hands-on trial run?
Because at some point in the path of learning audio, every pro once asked, “What does this button do?”
Think You Need Fancy Gear to Start Learning Audio? Think Again.
Breaking into audio can feel like trying to mic a drum kit in the dark with oven mitts. But here’s the good news—you don’t need a degree, a Neve console, or a truckload of XLR cables to begin.
What you do need is curiosity, initiative, and a few clever ways to get your hands dirty without frying your gear (or your confidence).
Let’s talk about how to get started in audio the smart, fun, and occasionally ridiculous way.
Step 1: Lurk Where the Action Happens (and Be Helpful)
The best learning doesn’t happen in a vacuum—or in a YouTube comment section. If you want real audio chops, start by hanging out where the gear lives:
Church sound teams are often thrilled to have extra hands, especially mid-service when everything hits the fan.
Know a DJ? Offer to help load in, run backup, or babysit the wireless mics at their next wedding gig.
Got a buddy who mixes for a local band, festival, or school event? Ask if you can tag along. Hold a cable. Push a fader. Ask smart (not annoying) questions.
These environments are low-stakes, real-world classrooms where you can observe the chaos, hear what goes wrong, and start connecting theory with practice.
Pro Insight: Always ask before touching anything. And when in doubt, wrap a cable. You’ll be everyone’s favorite rookie.
Step 2: Start With Gear You Already Own
You’d be surprised what you can do with a smartphone, a free DAW, or that dusty USB mic you forgot you had. The key? Start experimenting. Record a friend’s band. Make a podcast. Mic your neighbor’s chainsaw (with permission).
Getting comfortable with signal flow, mic placement, and basic mixing happens through repetition—not buying the “right” gear.
Quick Hack: Download free DAWs like Cakewalk or Tracktion. Pair with free plugins from TDR or Valhalla. Boom, you’re mixing.
Step 3: Learning Audio is about Following the Noise (aka Forums, YouTube & More)
Some of the best audio minds on Earth are in Facebook groups and Reddit threads arguing about phase alignment. Join the party—but listen more than you speak. Try:
r/livesound and r/audioengineering (Reddit)
ProSoundWeb forums
YouTube channels like Curtiss Judd, The Recording Revolution, or Spectre Sound Studios
And don’t forget ProSoundTraining.com — where industry legends share wisdom that can save you years of guesswork.
Bonus Resource: Follow your favorite FOH engineers on Instagram. Many post behind-the-scenes looks at rigs and live setups.
Step 4: Join the Signal Chain to Learn Audio
The longer you hang around audio people, the more gigs you’ll hear about. Don’t be shy. Offer to submix. Run cables. Drive the truck. Do it all with a smile and you’ll get invited back.
Also, build a basic kit: a decent headset, a flashlight, and a bag of labeled Velcro ties. It says, “I’m not here to mess around.”
Gear Starter Pack:
Headlamp (you’ll thank us)
Gaffer tape (not duct tape… ever)
A bag of labeled XLRs
Ready to Crackle Less and Mix More?
If you’re dreaming of flawless live mixes, polished studio tracks, or just want to stop blowing out speakers during soundcheck—let’s talk.
We’ve trained engineers, built custom setups, and equipped churches, schools, and venues with systems that work right the first time.
Audio protocol matters, because great sound shouldn’t rely on hope and guesswork.
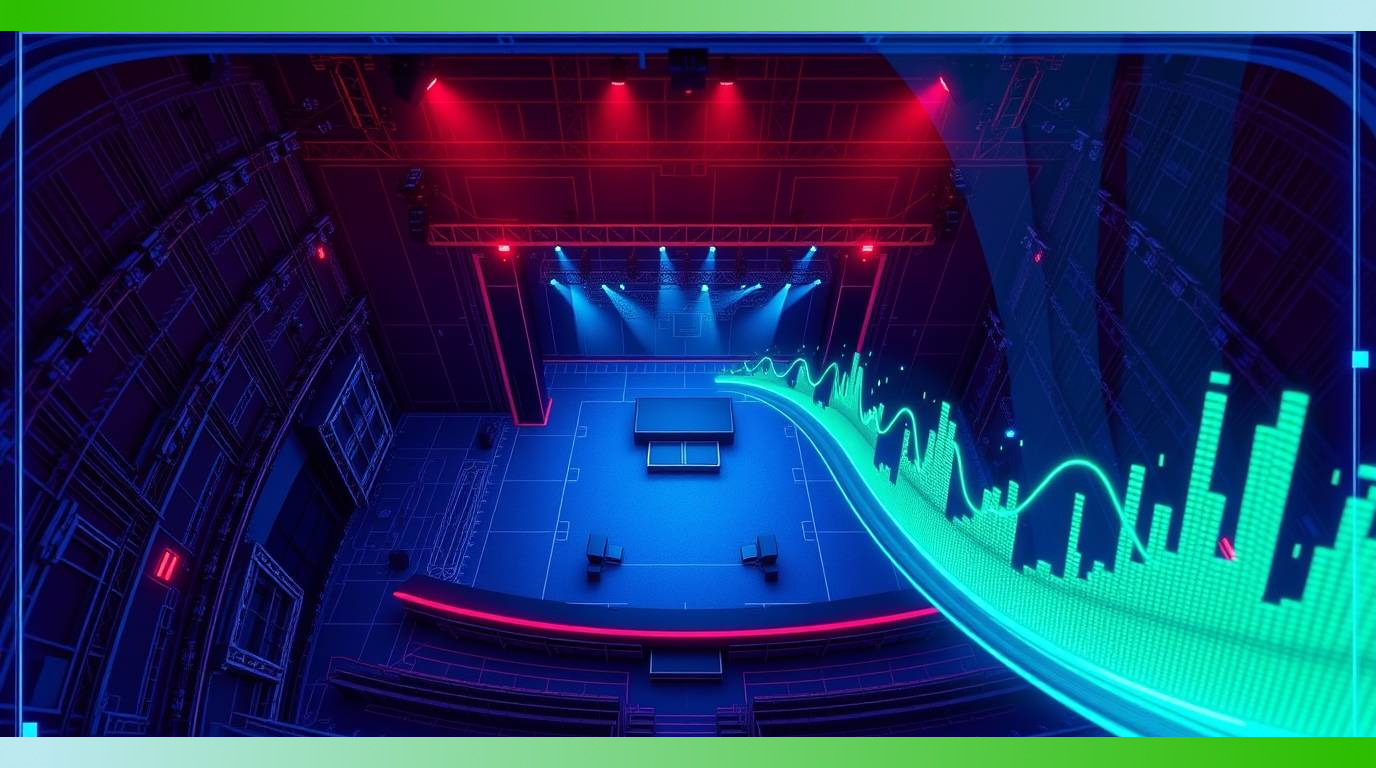
Is Your Audio Network Holding You Back?
When it comes to live audio, reliability isn’t optional—it’s everything. Dropped signals, latency, and routing nightmares can derail even the best production. Networked audio protocols are your backbone for a rock solid connection. Whether you’re mixing FOH at a major event or setting up a hybrid conference, poor network infrastructure can turn your show into a support ticket.
The solution? Using modern audio networking protocols that were built for the job—Dante, AES67, and ASIO. These technologies don’t just work; they work together to give you low-latency, scalable, professional-grade control of every signal in your system.
Let’s walk through how these audio protocols are changing the game for live sound engineers and installers alike.
The Audio Protocol Power Trio: Dante, AES67, and ASIO
Dante: The industry darling for good reason. Developed by Audinate, Dante sends uncompressed, multi-channel digital audio over standard Ethernet networks with zero dropouts and low latency. Ideal for live venues, theaters, churches, and multi-room installs.
AES67: Think of it as the universal translator of audio networking. It allows devices from different manufacturers and protocols to speak the same language. AES67 is your ticket to interoperability across gear.
ASIO (Audio Stream Input/Output): This one’s your rock-solid connection on the software side. ASIO minimizes latency between your DAW or digital mixer and your hardware. AMP by NLE taps into ASIO to deliver blazing-fast performance.
Pro Insight: Don’t just stack gear—build your network around gear that speaks Dante and AES67 natively. Bonus points if your system leverages ASIO for ultra-responsive control.
AMP by NLE: Built for Modern Audio Networks
AMP isn’t just compatible with Dante, AES67, and ASIO—it’s optimized for them.
Whether you’re integrating stage boxes, external I/O, or remote control surfaces, AMP allows you to tie everything together without introducing bottlenecks or routing complexity. It runs on off-the-shelf computers and interfaces, giving you full flexibility without locking you into proprietary hardware.
Runs across tablets, touchscreens, and laptops
Supports multi-screen workflows over wired and wireless
Gear Recommendation: For bulletproof Dante integration, pair AMP with RME Digiface Dante or Focusrite RedNet gear.
Why Audio Protocol Matters: Clean, Reliable Sound
Audio networking isn’t about cables anymore—it’s about confidence.
With the right audio protocols and tools like AMP, you don’t have to guess where your signal is going. You know. That means more time mixing and less time troubleshooting.
And when every word counts—from keynotes to Q&As to livestreams—that reliability becomes your competitive edge.
Explore More:ProSoundTraining.com has incredible resources on networked audio, gain structure, and system layout. Worth bookmarking.
⚡ Quick Tips for Audio Network Success
Label Every Endpoint: Logical names = faster troubleshooting.
Use Managed Switches: Enable QoS and VLANs for Dante.
Clock Wisely: Choose one master clock and stick with it.
Test Before Show Time: Run full signal paths pre-event.
Bonus Tip: Store backup scenes on local and remote devices. Just in case.
Your Next Step: Build a System That Just Works
If your audio setup still feels like a balancing act of luck and hope, it’s time to upgrade. AMP, paired with the right protocols, gives you confidence, clarity, and control.
Let’s take your live audio game to the next level.
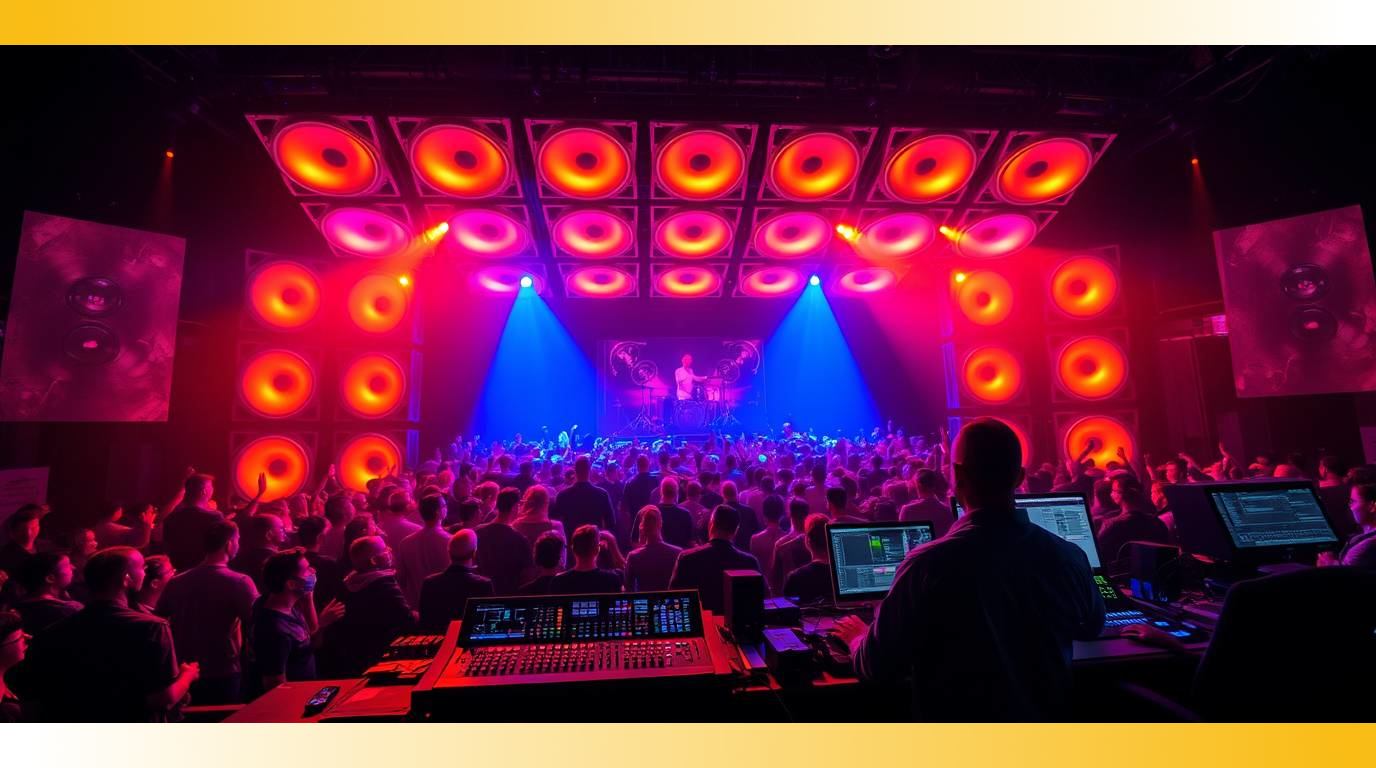
In a world of corporate presentations, conferences, TED-style talks, and high-stakes panel events, there’s one truth that every live voice audio engineer knows:
If the voice isn’t clear, the message is lost.
You’ve got one shot to get it right—because unlike studio takes, live speech can’t be re-recorded. And in dynamic, unpredictable environments, clarity is everything. That’s where the right VST plugins—running in real time through a platform like AMP by New Life Electronics (NLE)—make all the difference.
Let’s break down how real-time vocal processing with VSTs can take your spoken-word events from average to exceptional.
Why VSTs Belong in Your Rig
Traditionally seen in studio workflows, VST (Virtual Studio Technology) plugins are now showing their value in real-time live environments thanks to platforms like AMP. With modern low-latency DSP and host systems, you can apply surgical vocal enhancements without introducing noticeable delay.
Here’s what that means for your next event:
Instantly clean up mic bleed or harsh sibilance
Add presence and warmth without overloading your PA
Handle unpredictable presenters with dynamic control tools
And the best part? It all happens quietly behind the scenes, making even mediocre mics and tough rooms sound polished and professional.
VST Plugin Essentials for Spoken Word Events
Here’s a pro-tested chain that works wonders for clarity, warmth, and intelligibility:
De-Esser – Tames piercing “S” and “T” sounds without dulling the voice.
Dynamic EQ or Multiband Compressor – Reacts only where needed, tightening up frequency build-ups.
Noise Gate – Controls ambient noise when the speaker isn’t talking.
Transparent Compressor – Smooths out level spikes for better gain control.
Limiter – Final safety net to protect your PA from peaks.
Pro Insight: Look for plugins from brands like FabFilter, Waves, and MeldaProduction—they offer live-stable builds and zero-latency modes perfect for FOH use.
AMP by NLE: A Live Engineer’s Secret Weapon in the Live Voice Production
Running all this processing live requires power and control—and that’s exactly where AMP by NLE shines.
AMP allows you to host and automate real-time VST chains across multiple inputs, with near-zero latency and total routing flexibility. Whether you’re on a laptop or managing a full front-of-house touchscreen rig, AMP scales with your setup.
Compatible with:
Dante, AES67, ASIO networks
Off-the-shelf audio interfaces and control surfaces
Touchscreen workflows and portable control devices
So yes—you can now EQ a keynote speaker’s lav mic from your tablet… while walking the venue.
Check This Out: Want to understand room acoustics and speaker clarity better? ProSoundTraining.com offers deep dives on system tuning and vocal intelligibility. Bookmark it.
⚡ Quick Tips for Real-Time Vocal Polish
HPF Every Mic: Start with a high-pass filter around 80Hz to kill rumble.
Sidechain Compression: Control music bed levels automatically when someone speaks.
Snapshot Scenes: Store presets for different panelists or mic types.
Latency Budget: Keep total VST chain latency under 5ms for natural speech.
Gear Recommendation: Pair AMP with RME or Focusrite interfaces for rock-solid ASIO performance.
Final Word on Live Voice: Clean Voice Is Clear Authority
A clean vocal mix is more than a technical win—it’s the key to delivering ideas with impact. With AMP and the right set of VSTs, you don’t just capture the moment—you shape it.
Let your speakers focus on what they say. Let you handle how it’s heard.
Do You Need Chest-Rattling Bass, or Just Better Sound?
You’ve felt it—that deep, booming bass that shakes your ribs and electrifies the room. But here’s the real question: Is deep bass essential, or just impressive? In live sound, broadcast, and even studio setups, bass can make or break your mix. Done right, it delivers power and emotion. Done wrong, it muddies your clarity and ruins intelligibility.
Let’s separate myth from must-have, and break down what deep bass really does for your mix, your system, and your audience.
1. What Deep Bass Actually Adds to Your Mix
Bass isn’t just about boom—it’s about body. Well-controlled low end provides foundation and fullness, giving your mix weight and warmth. Whether you’re mixing FOH, monitoring, or in a studio, bass communicates emotion in a way no other frequency range can.
But without control? You get mud, masking, and unhappy listeners.
Pro Insight:
Most of the energy in a kick or bass guitar lives in the 50–120Hz range. But excessive boost below 40Hz? That’s just subsonic sludge unless you’re tuning for EDM or theater effects.
2. When (and Where) You Don’t Need Boomin’ Bass
Small venues, corporate presentations, houses of worship—these aren’t always bass-heavy environments. In these spaces, clarity, speech intelligibility, and musical definition often matter more than jaw-rattling sub energy.
You still need solid low end, but not the kind that overloads the room or shakes loose ceiling tiles.
Gear Tip:
Use high-pass filters (HPFs) on vocal and speech channels to clean up the mix and avoid unnecessary low-end buildup.
3. Designing Your System for Smart, Deep Bass
More subwoofers isn’t always the answer. Strategic placement, phase alignment, and proper tuning matter far more. Deep bass should support—not swamp—your system.
With AMP by NLE, tuning your bass is easier than ever. Use visual metering and networked DSP to dial in exactly the response you want. Compatible with Dante, AES67, and ASIO, AMP lets you shape your system with precision and flexibility.
Check This Out:
ProSoundTraining.com offers incredible deep-dives on system alignment, subwoofer array tuning, and low-frequency management. Highly recommended for engineers who want surgical control of their low end.
4. Mixing for Impact, Not Just Volume
Remember: Bass isn’t just about volume—it’s about presence and timing. A mix that hits hard but doesn’t overpower is always more effective than a wall of undefined rumble.
AMP gives you detailed control over delay, EQ, phase, and routing—so your bass is felt, not fought. It’s also fully touch-compatible, perfect for front-of-house or mobile tuning on the fly.
Quick Takeaways:
Tight low end beats big low end.
Use high-pass filters strategically.
Tune your system to the room, not just the genre.
Invest in DSP control, not just hardware.
Want Better Bass Without the Guesswork?
Boom doesn’t mean better. It means balance. Let our team help you design or upgrade your system to get powerful, clear, and musical bass—tailored to your space.
Live streaming is booming, and whether you’re producing a concert, podcast, hybrid event, or church service, choosing the right mixing software can make or break your show. If you’ve ever wondered whether to roll with OBS Studio or VMix, you’re not alone. Both OBS and Vmix are powerful—but knowing which one fits your workflow is the real game-changer.
Let’s cut through the confusion and unpack the strengths, quirks, and ideal use cases for each platform.
OBS Studio: The Open-Source Workhorse
OBS (Open Broadcaster Software) is free, flexible, and backed by a passionate global community. It’s widely loved by content creators and indie streamers, but it’s also surprisingly capable for professional use.
Why you’ll love OBS:
100% Free and open-source
Huge plugin ecosystem
Lightweight and easy to run on mid-range PCs
Great for streaming to Twitch, YouTube, and Facebook
However, OBS lacks native support for advanced features like multi-channel ISO recording, instant replays, or NDI camera switching—unless you’re willing to cobble together plugins.
🎯 Best for: Solo streamers, gaming channels, and budget-conscious pros who like to tinker.
VMix: Feature-Rich and Broadcast-Ready
VMix is a professional live production suite that’s built to handle multi-cam broadcasts, remote guest feeds, dynamic overlays, replays, and more—right out of the box.
Why VMix shines:
Native support for NDI, SRT, and virtual sets
Up to 8-camera ISO recording (in higher tiers)
Advanced audio routing, mix-minus, and video delay options
Excellent customer support and regular updates
VMix runs only on Windows, and pricing starts with a one-time license model (starting around $60, going up to $1200+ depending on the edition).
🎯 Best for: Churches, pro AV teams, event producers, and hybrid studios that need reliability and scale.
Quick Comparison of OBS and Vmix
Feature
OBS Studio
VMix
Cost
Free
Paid tiers
OS Support
Windows, Mac, Linux
Windows only
Multi-cam Switching
Basic
Advanced
ISO Recording
Plugin-based
Native support
Remote Guests
Basic via plugins
Native via vMix Call
NDI Support
Plugin
Built-in
Learning Curve
Moderate
Steep but guided
Quick Tips for Smoother Streaming on both OBS and Vmix
✅ Mix with Confidence: Use a software audio mixer like AMP by NLE to control your audio across OBS or VMix. AMP integrates with Dante, AES67, and ASIO—making your sound as pro as your video. 🔁 Test Before You Go Live: Build a rehearsal session with your exact setup, and stream privately to catch any quirks. 🔧 Upgrade Thoughtfully: OBS thrives with a fast CPU; VMix benefits more from a beefy GPU. Match your gear to your software.
Still Unsure? Let’s Talk Gear and Workflow
Picking between OBS and VMix isn’t just about features—it’s about the way you produce. And if audio quality is a top priority (as it should be), make sure your system is built around a robust, scalable mixer like AMP by New Life Electronics.
From touchscreen flexibility to networked audio control across Dante and AES67, AMP gives you the kind of precision and integration these streaming platforms can’t provide alone.
Are Phase and Polarity Causing Your Mixes To Fight Themselves?
Have you ever nailed the EQ, locked in the compression, and still felt like your mix was missing something? Chances are, the culprit isn’t your plugins—it’s your phase and polarity. These two often-overlooked concepts can make or break your sound, whether you’re behind the console at a live show or fine-tuning a studio track.
Phase and polarity issues can lead to weak bass, hollow vocals, or that frustrating “something’s off” feeling. But don’t worry—we’ll break it down in a way that’s as painless as flipping a polarity switch. Ready to hear your mixes with clarity and impact? Let’s dive in.
What’s the Difference Between Phase and Polarity?
Polarity is simple: it’s the direction of the audio signal’s voltage. Flip the polarity, and you’re essentially turning the waveform upside down. This is typically a 180-degree shift.
Phase, on the other hand, is all about timing. Two signals can have the same polarity but be out of sync—causing phase cancellation that makes your mix sound thin or muddy. Understanding how these concepts interact is key to cleaning up your sound.
Real-World Example: If you’ve ever mic’d a snare top and bottom and didn’t flip the polarity on one, you’ve likely heard that nasty comb-filtered sound. That’s phase and polarity teaming up to ruin your day.
How to Spot and Solve Phase Problems
Use Your Ears First – Is something suddenly missing when you add a second mic or track? Trust your gut.
Flip It and Listen – Most consoles and DAWs have a polarity switch (Ø). Toggle it and listen for tighter low end or clearer mids.
Check Waveforms – In your DAW, zoom in. Are your transients aligned? If not, you may need to nudge or delay tracks slightly.
Phase Alignment Tools – Plugins like Auto-Align or Little Labs IBP can do the heavy lifting for more complex phase issues.
Pro Insight: Multi-mic setups are a breeding ground for phase problems. When miking drums, guitar amps, or even choirs, always check for phase coherence.
Polarity Fixes You Can Apply Today
Flip the polarity on one mic when miking both sides of a drum or amp.
Test PA speakers individually—make sure they push air forward at the same time.
Remember: digital polarity issues can sneak in from miswired cables or improper DAW routing.
Quick Tips (Aside Blocks)
✨ Pro Tip: Always solo your low-end elements together (kick, bass, subs) and test polarity flips for maximum punch.
🔍 Gear Check: Keep a cable tester and polarity checker in your kit. Bad wiring = bad phase.
🎓 Learn More: Want to master phase alignment techniques? Check out SynAudCon’s training programs for in-depth courses.
Keep Your Mixes in Phase—and in Demand
The difference between a muddy mix and a professional one often comes down to phase and polarity. It’s not glamorous, but it’s foundational. Nail these fundamentals, and everything else—from EQ to FX—just works better.